RV Black Tank Sensors Always Read Full
What Actually Works and What Doesn't
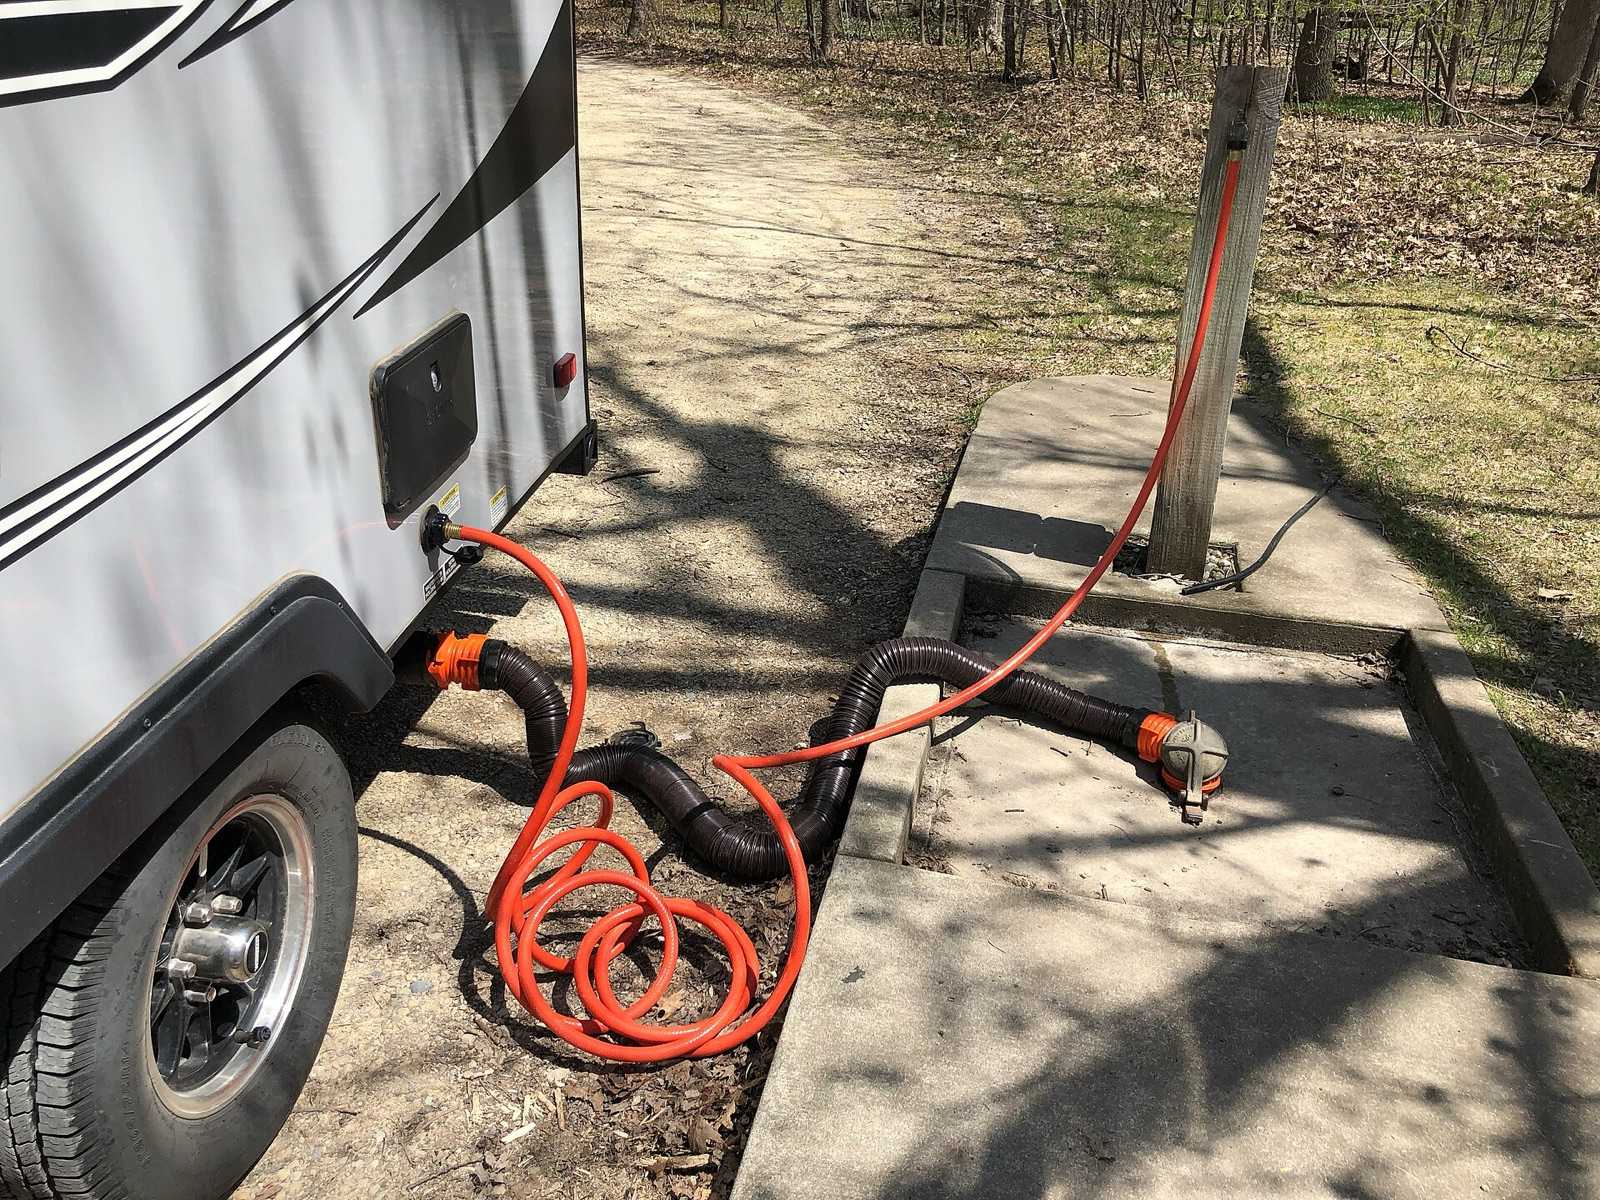

Clearing fouled tank probes
- Read the light pattern Gap in lights = fouled All on, check harness
- Dump, then rinse Until elbow runs clear One quick rinse, not flushed
- Fill half, dump again Two or three cycles
- Softener and soap soak 1 cup softener, soap Skip the ice
- Drive or sit overnight Scale needs a repeat
- Dump, rinse, recheck panel Still full means scale
- Clean probes or go SeeLevel External pads never foul
Watch it done
Videos are from the channels named, not Chock & Level. Where a video and your manual disagree, follow the manual. Playing a video loads YouTube, which sets its own cookies.
The black tank reads full. You just dumped it, flushed it, and watched clear water run through the elbow, and the panel still says full. Or it says 2/3 and has said 2/3 for three trips. The gauge has become a light that is always on.
This is the single most common complaint about any RV monitor panel, and it is rarely a wiring fault. The sensors are reading exactly what they see: something conductive stuck across the probes. The question is how to get it off, and the methods people swear by range from effective to pointless. Here they are in order of how well they work, with the reasoning, so you can skip the ice.
You need a tank rinser (built-in or a wand through the toilet), a sewer connection, gloves, and a weekend at a site with full hookups. Or a few hours, a tank of water, and a drive.
Quick answer. Dump, then rinse with the built-in tank rinser or a wand through the toilet until the water at the clear elbow runs clean, two or three fill-and-dump cycles. If it still reads full, fill the tank with water plus a water softener and dish soap soak, drive a few hours, dump, and rinse again. Ice does nothing. If you do this twice and it still reads full, stop fighting it; external capacitive sensors (SeeLevel II is the known example) read through the tank wall and never foul.
How the probe sensors work, and why they lie
Most trailers use a monitor panel from KIB or a similar maker with three or four stainless steel screws run through the tank wall at different heights, usually marked 1/3, 2/3, and Full, with a fourth near the bottom as the common or Empty reference. Each probe is a bare metal tip inside the tank. The panel applies a small voltage and checks whether current flows between each probe and the common. Water with waste in it conducts, so when liquid covers a probe, that light comes on.
The panel cannot tell the difference between liquid touching a probe and anything else conductive touching it. A streamer of wet toilet paper hanging from the Full probe to the tank wall, a film of mineral scale, a coating of struvite (the magnesium ammonium phosphate crystal that forms from urine and is the same stuff that scales marine toilets) all conduct, and the light stays on with the tank empty.
Toilet paper is the main culprit because the probes are screws, and screws catch things. Paper wraps around the probe tip and dries there between trips. Scale and struvite build up more slowly and are harder to remove, and they are why a tank that has read full for two years is a tougher fix than one that started last month.
The lights are also coarse. Three lights means the panel tells you less than 1/3, between 1/3 and 2/3, between 2/3 and full, or full. A gap in the pattern is diagnostic: 1/3 off, 2/3 off, Full on, is not a tank that is full. It is a fouled Full probe. Any time a higher light is on and a lower one is off, the higher one is lying. Lights that are all on with a known-empty tank mean all the probes are coated, or less commonly a short in the sensor wiring where the harness runs under the belly.
Grey tanks have a different version of the same problem: grease and soap scum coat the probes in a film rather than hanging paper on them. Hot water and a degreasing dish soap work on grey tanks; the paper-clearing methods below are mostly for black.
What works, ranked
1. A proper flush with a built-in rinser or a wand
This is the fix for most tanks, and the one people skip because it takes time. Dumping empties the liquid and leaves the paper and solids that were not suspended. Rinsing with a spray head inside the tank knocks paper off the probes and the walls.
If your rig has a built-in tank rinser (a hose connection in the utility bay labeled black tank flush or similar), connect a dedicated non-potable hose, open the black tank valve with the sewer hose connected, and run the rinser for 10 to 15 minutes while watching the clear elbow. When it runs clear, close the valve, let the tank fill about half way through the rinser (watch the time; a built-in rinser with the valve closed will overflow the tank into the toilet if you walk away), then dump. Repeat until the dump runs clear from the start.
If there is no built-in rinser, a flexible rinsing wand through the toilet does the same job. Hold the pedal down so the valve is open, feed the wand in, and sweep it around. The built-in rinser is more convenient; the wand aims better, since you can point it at the sensor wall. Most sensors are on the side of the tank facing the outside wall of the rig or the side the monitor panel wiring runs to; look under the belly for the screw heads if the underbelly is open.
A tank that reads full after one dump and one quick rinse has not been flushed. Three cycles is normal for a neglected tank.
2. Water softener and dish soap soak, then drive
The common practice, often called the GEO method on forums, is to dump the tank, add about 1 cup of powdered water softener (Calgon or equivalent) dissolved in a gallon of hot water, plus a half cup to a cup of dish soap, fill the tank a third to half full with water, and drive. Amounts vary by the person posting; those are the ranges that come up most and nobody measures them carefully.
The reasoning holds up. Water softener is a chelating agent: it binds the calcium and magnesium that make scale and struvite stick, and loosens the deposit from the plastic. Dish soap is a surfactant that lets water wet the paper and get under the film, and it makes the tank walls slick so less sticks next time. Driving sloshes several gallons of this across the probes for an hour or two, which is more scrubbing than a hose can do.
Let it sit overnight if you can, drive, dump, and rinse. For heavy scale, repeat. This is the one chemical method with a mechanism behind it, and it is cheap.
3. Mechanical cleaning of the probes
If you can reach the sensor screws from under the rig (open underbelly, or a belly panel that comes off), you can clean them directly. Each probe is a screw with a terminal on the outside and a bare tip inside. With the tank empty and rinsed, remove the wire, unscrew the probe, scrape the tip clean, and reinstall with a new dab of sealant or the original gasket. A probe that is corroded or snapped gets replaced; KIB and others sell them in sets.
This works and is permanent until the next buildup. The downside is that most trailers have a sealed underbelly and the probes are not reachable without cutting into it.
4. Enzyme and bacterial treatments
Products with live bacteria and enzymes (Unique RV Digest-It and similar) break down paper and waste over days so there is less for the probes to catch. They work on the material that makes the deposit, not on an existing scale layer, and they need warmth and time. Used every trip, they keep a clean tank clean. Used once on a fouled tank, they do little.
Chemical treatments (formaldehyde-based or the mineral and enzyme blends sold as Happy Campers and similar) control odor and help liquefy waste; the mineral blends also soften water, which gives them a mild effect on scale. None of them is a fix for a probe already coated. Treat them as maintenance.
5. Ice
Dumping a bag or two of ice down the toilet and driving is the most-repeated advice on the subject, and it does not scrub anything. Ice floats. It bobs on the surface of whatever water is in the tank, it does not reach probes above the water line, and the cubes melt within an hour in a warm tank. Whatever benefit people see comes from the water they added with it sloshing around. Skip the ice and use the water softener soak, which adds the same water with a chemical reason to work.
Replacing the sensors: the fix that stays fixed
Capacitive external sensors read through the tank wall. The known example is the Garnet SeeLevel II (709 series): a flat sender pad is stuck to the outside of the tank with tape, nothing penetrates the wall, and the pad senses the capacitance change as liquid rises behind it. The display inside shows a percentage in steps rather than three lights. Because nothing is inside the tank, nothing can coat it, and paper hanging off a wall does not change the reading.
The installation is a weekend job: run a pair of wires from each tank to the display location, mount the pads on a flat section of tank wall, and connect them. The pads need a smooth, clean tank wall at least a few inches wide, and a sealed underbelly makes the job harder on tanks you cannot see. The system is not cheap, several hundred dollars for a display and three senders, and it is the one upgrade that ends this problem.
Before buying, confirm the tank is reachable and flat enough on one side. Garnet’s manual has the specifics on pad placement and what tank shapes it will not read.
What to do this weekend
A realistic sequence at a full-hookup site:
- Friday evening. Dump the black tank. Run the rinser or wand for 15 minutes with the valve open until the elbow runs clear. Close the valve, fill the tank half way, dump again.
- Friday night. Dissolve a cup of water softener in a gallon of hot water, pour it down the toilet with a half cup to a cup of dish soap, and fill the tank about half with water. Leave it overnight.
- Saturday. Use the tank normally. If you are leaving, drive with the soak in it. If staying, let it sit the day.
- Saturday evening or Sunday. Dump. Watch the elbow; you will usually see darker water and loosened material in the first minute. Rinse until clear, fill half way, dump, rinse again.
- Check the panel with the tank empty and the valve closed. If it reads empty, add a bit of water, keep paper use in mind, and use an enzyme treatment each trip. If it still reads full after this, repeat the soak once; if that fails, it is scale on the probes and the real fix is mechanical cleaning or external sensors.
Keep it from coming back
Keep several gallons of water in the tank after every dump so solids and paper fall into liquid rather than sticking to a dry tank floor. Use enough water with each flush; a full pedal press for a few seconds. Fast-dissolving RV paper or a single-ply household paper helps less than people think; the amount of water matters more than the paper brand. Leave the black valve closed until the tank is at least two-thirds full, then dump all at once so the rush carries solids out. Rinse after every dump where there is a rinser.
Symptom → likely cause
| What you see | Most likely | Check |
|---|---|---|
| Full light on, 1/3 and 2/3 off, tank known empty | Paper or scale on the Full probe | Rinse aimed at the sensor wall, softener soak |
| All lights on with tank empty | All probes coated, or harness short | Rinse and soak; if no change, inspect the wiring under the belly |
| Reads 2/3 for weeks regardless of use | Coated 2/3 probe | Same as above |
| Lights flicker as you drive | Probes partly coated, sloshing | Soak and drive |
| Grey tank reads full, black fine | Grease and soap film on grey probes | Hot water and degreasing soap soak |
| Reads empty when tank is clearly full | Broken probe wire or failed panel | Wiring at the probe terminals, panel fuse |
| Reads full only after a long drive | Material shifted onto a probe | Rinse cycles |
| Panel dead on all tanks | Panel fuse or 12 V feed | 12 V distribution panel |
Stop and handle it with care if: you will be opening the underbelly or removing a sensor probe from a tank that has held black water; wear nitrile gloves and eye protection, have the tank empty and rinsed, and work with the sewer connection made. Never use a potable water hose for rinsing or on the tank flush connection, and never run the built-in rinser with the dump valve closed and nobody watching. If the tank is cracked or a fitting is leaking black water into the underbelly, that is a tank repair and a cleanup that needs protective equipment, not a weekend project.
Parts and tools mentioned
- Flexible tank rinsing wand (Camco swivel stik pattern or similar)
- Dedicated non-potable hose for the tank flush connection, marked so it never touches the fresh fill
- Clear sewer elbow or clear hose section
- Powdered water softener (Calgon or equivalent) and dish soap
- Enzyme or bacterial holding tank treatment for regular use
- Replacement probe sensor set (KIB pattern; verify against your panel)
- Garnet SeeLevel II 709 series display and senders, if going external
- Nitrile gloves, eye protection
Questions people ask next
My panel says full but the toilet flushes fine. Is it really full? If the toilet drops and the water in the bowl goes down without gurgling or backing up, the tank is not full. A full tank backs up into the bowl. Read the gaps: a Full light with lower lights off is a fouled probe, not a full tank.
Does the tank treatment with the blue liquid clean the sensors? Chemical deodorizers control odor and break down waste. They do not remove scale or paper already stuck to a probe. They help a clean tank stay clean.
Can I pour vinegar or CLR in the black tank? Vinegar is weak and mostly harmless; a gallon in a 40 gal tank is not going to touch struvite. Stronger acid descalers can attack the tank seals, the valve seals, and the fittings, and they react with other tank chemicals. The water softener soak is safer and works on the same deposits.
How do I know where the sensors are so I can aim the wand? Look under the trailer for the screw heads with wires attached on the tank wall. If the underbelly is sealed, the sensors are usually on the side facing the exterior wall nearest the monitor panel. Sweep the wand around the whole tank and do not worry about precision; the fill-and-dump cycles do most of the work.
Is it worth converting to SeeLevel on an older trailer? If you boondock and need to know the level, yes. If you are usually on hookups and dump when the toilet tells you, the cheaper answer is to flush properly and treat the panel as a rough guide.
Manuals and references consulted
- KIB Enterprises monitor panel and probe sensor installation sheets
- Garnet Instruments SeeLevel II 709 Series installation and operation manual
- Camco flexible swivel stik tank rinser instructions
- Thetford and Dometic holding tank treatment product labels