Finding a Water Leak in a Camper
The Moisture-Meter Method and the Nine Usual Entry Points

Leak hunt order
- Meter interior grid Over 20% is wet Wet zone found
- Read the wet shape Points uphill to entry
- Check nine entry points Cracked seam, open screw
- Hose test bottom-up One area, 3-5 min Helper sees water
- Rule out condensation Cold-weather, no rain
- Seal, dry, assess Under 15% before closing Soft floor: shop
Watch it done
Videos are from the channels named, not Chock & Level. Where a video and your manual disagree, follow the manual. Playing a video loads YouTube, which sets its own cookies.
A brown ring on the ceiling, a soft spot in the floor at the bathroom door, wallpaper lifting along a seam, or a smell that doesn’t go away when you open the windows. Finding where the water is coming from is the whole problem, because it almost never shows up under the hole it came through.
Water enters a travel trailer at a seam or a fastener, runs down the inside of the sidewall skin, along a stud or a roof truss, down a wire, and shows up two or three feet away, sometimes on the other side of the rig. So the method is to read the whole structure with a moisture meter, work out which direction the water came from, then confirm the entry point with a hose test from the bottom up.
You need a pin-type moisture meter, a hose with a spray nozzle, a flashlight, a ladder, chalk, and a helper inside. Allow two to four hours; drying out takes longer.
Quick answer. Meter the interior walls and ceiling in a grid, marking every reading over about 20 percent with chalk; the wet area points uphill toward the entry. Check the nine usual suspects above and beside that area: cap-to-roof seams, roof vents and skylights, the AC gasket, plumbing vent and antenna penetrations, window frames and weep holes, marker lights, the slide roof and wipers, and the belly fittings. Confirm with a hose test, one area at a time, lowest first, with your helper inside at the wet spot. Seal the entry, then dry, then assess the structure.
Why the leak shows up where it does
A trailer wall is exterior skin, wood or aluminum studs, insulation, and interior paneling; the roof is a membrane over a thin plywood or OSB deck on trusses. None of these layers is sealed to the others, so water behind the skin runs down studs, sideways along headers and trusses, and down wires until it finds a joint and drops.
The stain shows where the water ended; the meter shows the path. Follow it uphill to the entry.
Signs you have a leak, not a spill
- A soft or spongy spot in the floor, usually at the entry door, the bathroom, a slide room’s floor flange, or under a window.
- Wallpaper or vinyl wall covering bubbling or lifting along a seam.
- Brown stains or rings at ceiling panel seams, or at the top corners of walls.
- A bubble or wave in a fiberglass sidewall, which is delamination.
- A musty smell that stays with the rig ventilated.
Step 1Meter the interior in a grid
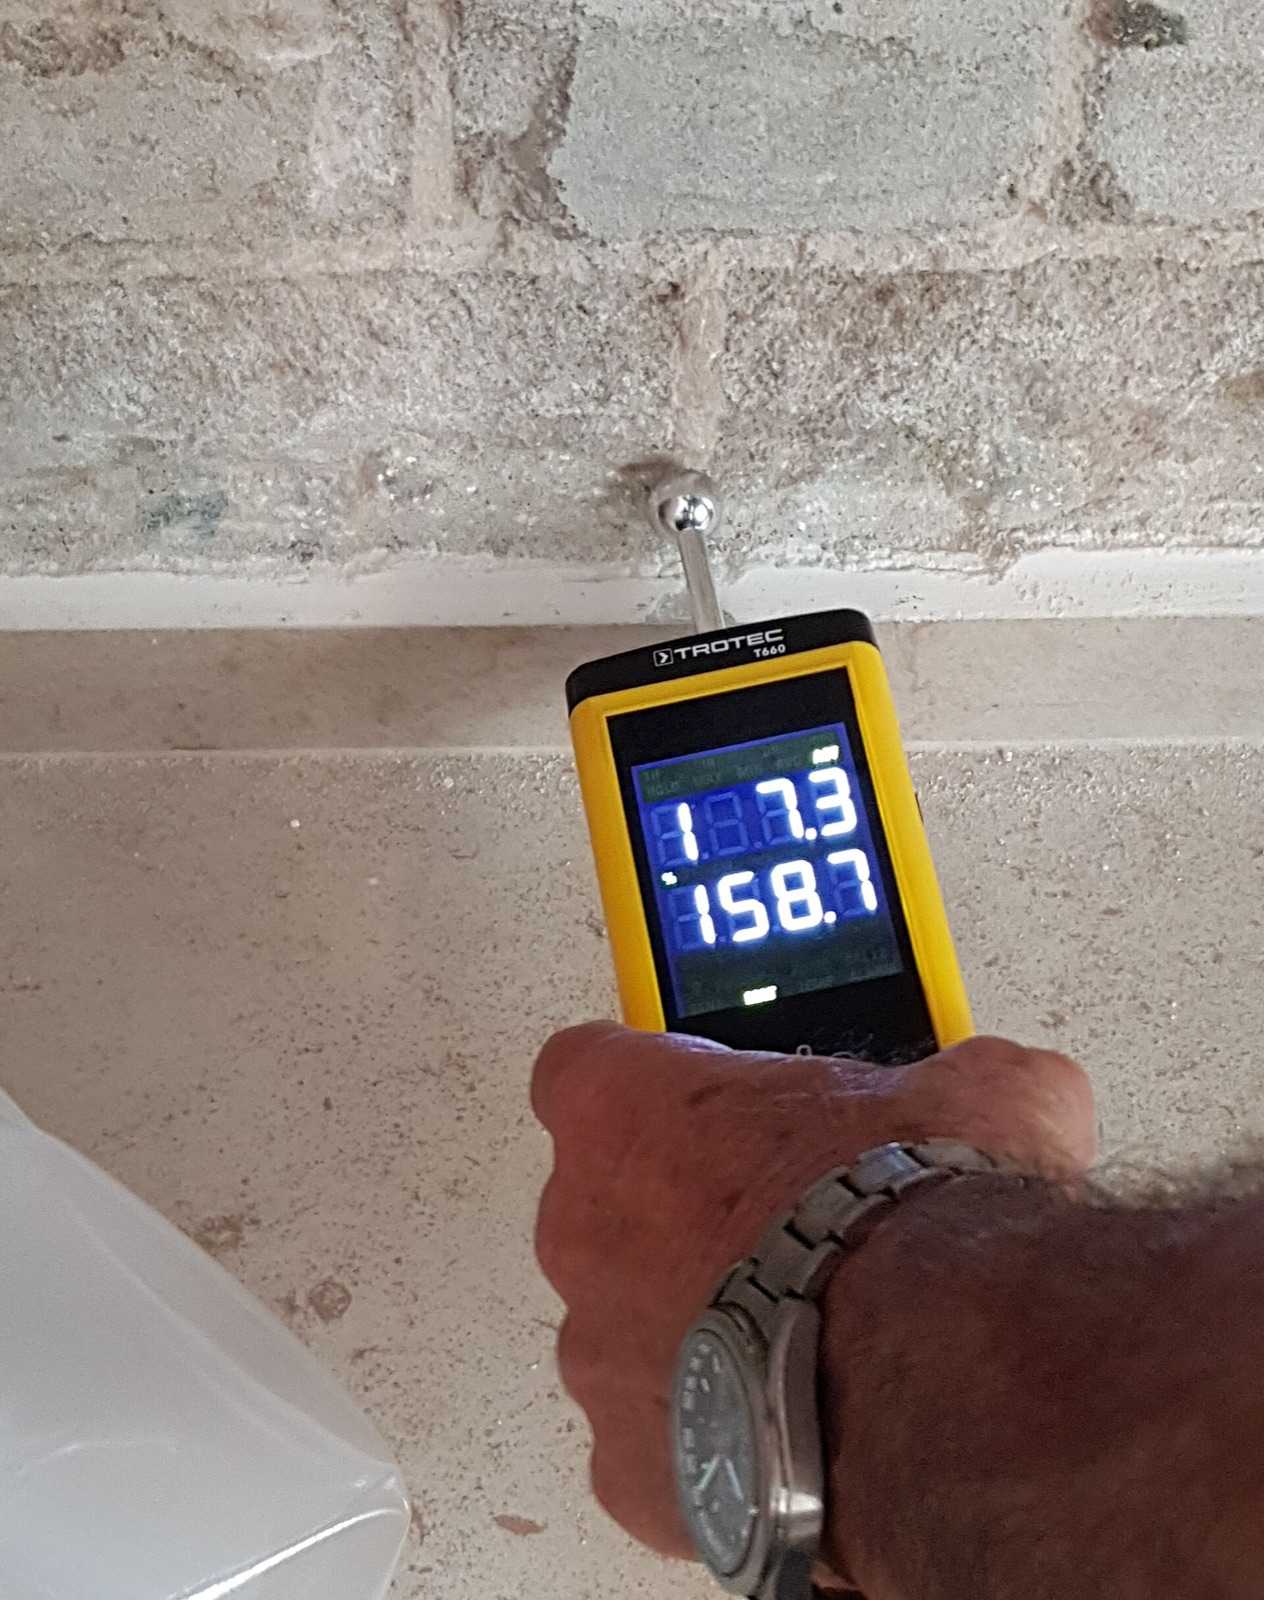
A pin-type meter pushes two pins into the surface and reads the moisture content of the material between them. Set it to the wood scale and push the pins into the interior paneling (the holes are tiny and hide behind trim or in a seam).
Start on a wall you have no reason to suspect, well away from windows and the roof edge, and take a baseline reading. Interior paneling in a trailer that has been closed up typically reads in the 8 to 15 percent range depending on climate and season; call that dry. Then meter every 12 in or so across the wall or ceiling you’re investigating, and write the number next to the pin holes with chalk or on tape.
What the readings mean, as typical figures for wood-based paneling and not a lab standard:
- Under 15 percent: dry for practical purposes.
- 15 to 20 percent: elevated. Something is adding moisture here, or this area dries slower than the rest.
- 20 percent and up: wet. Wood above about 20 percent moisture content for extended periods supports decay, which is why this is the number to care about.
- Meter pegged or reading over 30: standing water inside the wall, or a very recent leak.
Look at the shape of the wet readings. A wet patch that gets wetter toward the ceiling comes from above (roof or cap seam). One that is wettest right below a window and spreads downward is the window. One that is wettest at the floor and dry a foot up is coming from below or from the floor’s edge, which means the belly or a slide floor flange. A stripe along one stud is water running down a wire or a stud from a point above it.
Step 2Work through the nine usual entry points
Start with the ones above and beside the wet area. In rough order of how often they are the cause on a trailer more than a few years old:
1. Front cap-to-roof seam. The joint where the molded front cap meets the roof membrane, running the width of the trailer. It takes the full force of highway rain and flexes every mile. Lap sealant here cracks at the vertical face first. Stains at the front ceiling corners or the top of the front wall almost always trace here.
2. Rear cap seam. Same joint, same failure, less wind load. Also the rear ladder mounts, which are screwed through the cap.
3. Roof vents and skylights. Each is a flange screwed down through the roof deck with butyl under it and lap sealant over the edge and every screw head. A single screw with no sealant cap is a leak. Skylights also crack from hail and UV; look for a crazed or yellowed dome.
4. Air conditioner gasket. The rooftop unit sits on a foam gasket around the 14 in opening and is held down by bolts from inside. The gasket compresses with age and the bolts loosen; rain then runs through the opening and drips at the ceiling assembly. This is a leak when it rains. If it drips when the AC runs on a dry day, it is condensate, covered in AC dripping water inside.
5. Plumbing vent, antenna, and solar penetrations. Every pipe and cable through the roof has a flange or a boot with sealant. Plumbing vent caps crack; antenna bases work loose; aftermarket solar mounts are a common leak when the installer used silicone or skipped the butyl.
6. Window frames and weep holes. Windows are set in the wall opening on butyl tape and screwed through the frame. The butyl dries and shrinks; the screws loosen. Water that gets past the frame runs down the inside of the wall and shows below the window or at the floor. The weep holes at the bottom of the frame are supposed to let water that gets inside the frame channel drain out; when they are plugged with dirt, the channel fills and overflows into the wall. Check every weep hole with a toothpick.
7. Marker and clearance lights. Each light is a wire hole through the skin and two screws, sealed with a gasket or a dab of sealant that fails before anything else on the rig. Small leaks, but they run straight down inside the wall. The lights along the front cap are the worst because of wind loading.
8. Slide room roof and wipers. A slide room has its own roof seams and its own sealant, plus bulb seals on the room’s perimeter and a wiper seal on top that is supposed to squeegee the roof as the room comes in. A wiper seal folded under, a torn bulb seal, or a slide topper that has sagged lets water run down the room’s outside wall and in at the floor flange, which shows as a soft floor at the room’s inside edge. See slide-out seal replacement.
9. The belly: low-point drains and tank fittings. Not every leak comes from the sky. A low-point drain cap that weeps, a tank fitting or the pump’s connections, a loose fresh tank fill hose, or a city water inlet that leaks behind the wall will soak the floor from underneath. A wet floor with dry walls above it, and a leak that doesn’t correlate with rain, points here. Open the belly panel below the wet area and look.
Step 3The hose test, bottom up, one area at a time
The hose test confirms an entry point. Done wrong it confirms nothing, because water poured over the whole rig at once proves only that the rig leaks.
Your helper goes inside with a flashlight and sits at the wet area with the cabinet doors open and anything in the way removed. You start outside with the hose on a gentle spray, no pressure nozzle.
- Start at the lowest suspect in the wet area and work up. If you start at the roof, water runs down over every lower seam and you can’t tell which one let it in.
- Wet one component for 3 to 5 minutes: the bottom of a window frame, then its sides, then its top. Then the clearance light above it. Then the drip rail. Then the roof edge. Then the vent flange.
- Wait a few minutes between components. Water takes time to travel a wall.
- When your helper sees water, stop. Mark the component outside with chalk. That is at least one entry; keep going higher to see if there is another.
A hose test can’t reproduce wind-driven rain at highway speed. If the leak only appears after towing in rain, suspect the front cap seam, front window, and front marker lights first.
Chalk and dye for slow leaks. Draw a chalk line through a stain inside; after the next rain or hose test, the chalk washes away along the path the water took. Outside, a little food coloring sprayed on one suspect seam settles which of two adjacent seams is leaking.
Step 4Where to look inside
The stain you noticed is rarely the wettest spot. Check:
- Behind and under cabinets along the exterior walls, especially the top cabinets at the roof edge. Remove the drawers and look at the back wall with a flashlight.
- Under the mattress and inside the bed platform, since the bed is usually against the front or rear wall, directly below a cap seam.
- Under the bathroom vanity and behind the toilet. The bathroom has a roof vent, a plumbing vent, often a skylight, and the belly fittings all in one place.
- The floor along the inside edge of a slide room when the room is in, under its wiper seal.
Step 5Is it a leak, or condensation?
In cold weather, breathing and cooking put quarts of water into the air, and it condenses on anything below the dew point: single-pane windows, aluminum frames, exterior walls behind a mattress or inside a closet. It looks like a leak.
The tells: it shows up in cold weather regardless of rain, it is worst on windows and the walls behind furniture, it’s spread evenly rather than concentrated at a seam, and it goes away when you run a dehumidifier or ventilate. An unvented propane heater (a catalytic or buddy-type heater) makes it much worse, because burning a gallon of propane typically releases more than a gallon of water vapor; the furnace vents its exhaust outside.
Fix it with ventilation, not sealant: crack a roof vent, run the fans while cooking and showering, and pull the mattress off the wall.
Step 6Repair priority
- Seal the entry. Nothing else matters until the water stops. Which product goes where is in camper roof sealant: which product on which seam. For a window or a light, that often means pulling it, replacing the butyl, and reinstalling.
- Dry it out. Open the wall or floor as much as you can from the inside (remove paneling at a seam, pull the flooring back, open the belly), and move air through it with a fan and a dehumidifier. Meter weekly. Wood that has been wet for weeks takes weeks to get back under 15 percent. Closing the wall over wet framing grows mold and rot.
- Assess the structure. Once dry, probe the framing and floor with a screwdriver. Sound wood resists; rotted wood gives. Lauan paneling that has delaminated stays wavy after it dries.
When it needs a shop
- A soft floor larger than a hand span, or soft anywhere near the entry door or the slide floor flange. The floor is structural and the repair means cutting out subfloor, often the bottom of the wall framing with it.
- Sidewall delamination that is growing or more than a foot across. Injecting adhesive and clamping a small bubble is a DIY job; a wall section that has separated needs the skin pulled or the wall replaced.
- Soft roof deck. A reseal over wet plywood hides it for a season; the deck needs replacement.
- A wet wall behind the 120 V distribution panel or the converter. Don’t open it. Shut off shore power and call.
Symptom → likely cause
| What you see | Most likely entry | Check |
|---|---|---|
| Stain at a front ceiling corner | Front cap-to-roof seam, front marker lights | Sealant on the vertical face of the cap seam; light gaskets |
| Stain around a roof vent inside | Vent flange sealant or a screw with no cap | Every screw head and the bead around the flange |
| Drip at the AC ceiling assembly during rain | AC gasket or loose hold-down bolts | Gasket compression; bolt torque per the AC manual |
| Drip at the AC on a dry day while cooling | Condensate | AC drain path; see the AC guide |
| Wet below a window, dry above | Window frame butyl or plugged weep holes | Weep holes; hose test the frame bottom first |
| Wet floor, dry walls, no rain correlation | Belly: low-point drain, tank fitting, pump, inlet box | Open the belly panel; run the pump and look |
| Soft floor at the slide room’s inside edge | Slide wiper or bulb seal, slide roof seam, topper | Seals with the room in and out; hose test the room’s roof |
| Wet windows and wall tops every cold morning, no rain | Condensation | Dehumidifier test; stop any unvented heater |
Stop if: the roof is wet, frosty, or you don't trust the ladder; walk only where the manufacturer says the roof is walkable, stay off the edges, and have someone footing the ladder. Do not meter, probe, or open a wet wall near the 120 V distribution panel, the converter, the shore power inlet, or an outlet without shore power disconnected and the generator off. Stop and get a shop involved if the floor is soft over an area larger than your hand, if a sidewall is delaminating over more than a foot, or if the leak is anywhere near the propane line to the water heater or furnace.
Parts and tools mentioned
- Pin-type moisture meter with a wood scale
- Garden hose with an adjustable spray nozzle
- Flashlight, chalk or washable marker, toothpicks for the weep holes
- Step ladder and a roof-rated ladder with a stabilizer
- Fan and dehumidifier for drying out
- Butyl tape (1/8 in x 3/4 or 1 in) for reseating windows and lights
- Dicor 501LSW and 551LSW lap sealant, Geocel ProFlex RV, and Eternabond RoofSeal, per the roof sealant guide
Questions people ask next
How long does a wall take to dry out? With the paneling open and a fan and dehumidifier running, a few days for a recent leak, several weeks for a wall that has been wet for a season. Meter it weekly and don’t close it up until it reads under about 15 percent consistently.
Manuals and references consulted
- Pin-type moisture meter manufacturer manuals (General Tools, Klein, Extech) for wood moisture scale and reference ranges
- USDA Forest Products Laboratory, Wood Handbook, equilibrium moisture content of wood and conditions for decay
- Dicor Products and Alpha Systems roof care and inspection guides
- Travel trailer manufacturers' owner's manuals, exterior sealant inspection intervals (Forest River, Jayco, Grand Design)
- Lippert slide-out seal and slide topper owner's documentation