RV Slide-Out Seal Replacement, and Whether You Need a Slide Topper

Slide seal inspection order
- Slide in: check bulb Daylight at corners? Flattened or gapped bulb
- Slide out: check wipers Fin rides the wall Torn or folded wiper
- Check slide alignment Even gaps, square Out-of-sync drive, sag
- Condition or replace Petroleum-free product Seal won't spring back
- Measure, order profile Base width, bulb height Wrong profile, leaks
- Install, cure, cycle Start top corner Stretched seal shrinks
Watch it done
Videos are from the channels named, not Chock & Level. Where a video and your manual disagree, follow the manual. Playing a video loads YouTube, which sets its own cookies.
There’s a wet spot on the carpet at the corner of the slide after a rainstorm, or a stripe of daylight at the top corner with the slide in. Maybe a rubber fin is hanging loose from the outside of the opening and flapping as you drive.
Slide-out seals wear out on a predictable schedule: UV, heat, and every in-and-out cycle work on them. The most common failures, in order, are a bulb seal that’s gone flat and no longer seals against the slide flange, a wiper seal torn at a corner, and a slide that’s out of alignment and chewing through both. The first two are a driveway job. The third has to be fixed first or new seals won’t last.
Inspection and conditioning take an hour. Replacing the seals on one slide is a half day plus adhesive cure time. You need a heat gun with a low setting, plastic scrapers, isopropyl alcohol, and a way to measure the old seal’s cross-section accurately.
Quick answer. With the slide in, look for daylight at the corners from inside and a flattened bulb seal outside. With the slide out, check that the wiper seals lie flat against the slide walls with no tears. Condition healthy seals with a petroleum-free seal conditioner. Replace seals that are torn or don't spring back, using the same profile, measured from a cut cross-section. Check slide alignment before you install new seals, and let the adhesive cure before cycling the slide.
How slide seals keep water out
A slide room is a box that moves through a hole in the sidewall, so it needs a seal in both positions.
Bulb seals are mounted on the trailer sidewall around the outside of the opening. When the slide comes in, the flange on the outside of the slide room (the fascia that frames it) presses against the bulb and squashes it, sealing the gap. Many slides also have a bulb seal on the inside wall that the interior trim flange compresses when the slide is fully out. A bulb seal only works if it’s compressed, and only if it springs back each time.
Wiper seals, also called sweep seals, are flat rubber fins mounted around the opening on the outside and often the inside, angled to lie against the slide room’s walls. They ride on the walls as the slide moves, wiping off water and debris, and seal the gap while the slide is in transit or partway open. They work by staying in contact. A torn or folded fin lets water run straight past.
Many current seals combine both: a bulb with a wiper fin on one extrusion. Your trailer may use one style around the whole opening or different profiles at the top, sides, and bottom.
Step 1Inspect with the slide in
Go inside, close the blinds and turn the lights off on a sunny day, and look at every corner and along the top of the slide. Daylight anywhere means the bulb seal isn’t being compressed there. Corners are the usual spot because the seal has to turn a tight radius and is often joined there.
Then go outside. Look at the bulb seal where the flange meets it. It should be visibly squashed all the way around. A gap between the flange and the seal along one side points to the slide not coming in square, which is an alignment problem, not a seal problem.
Step 2Inspect with the slide out
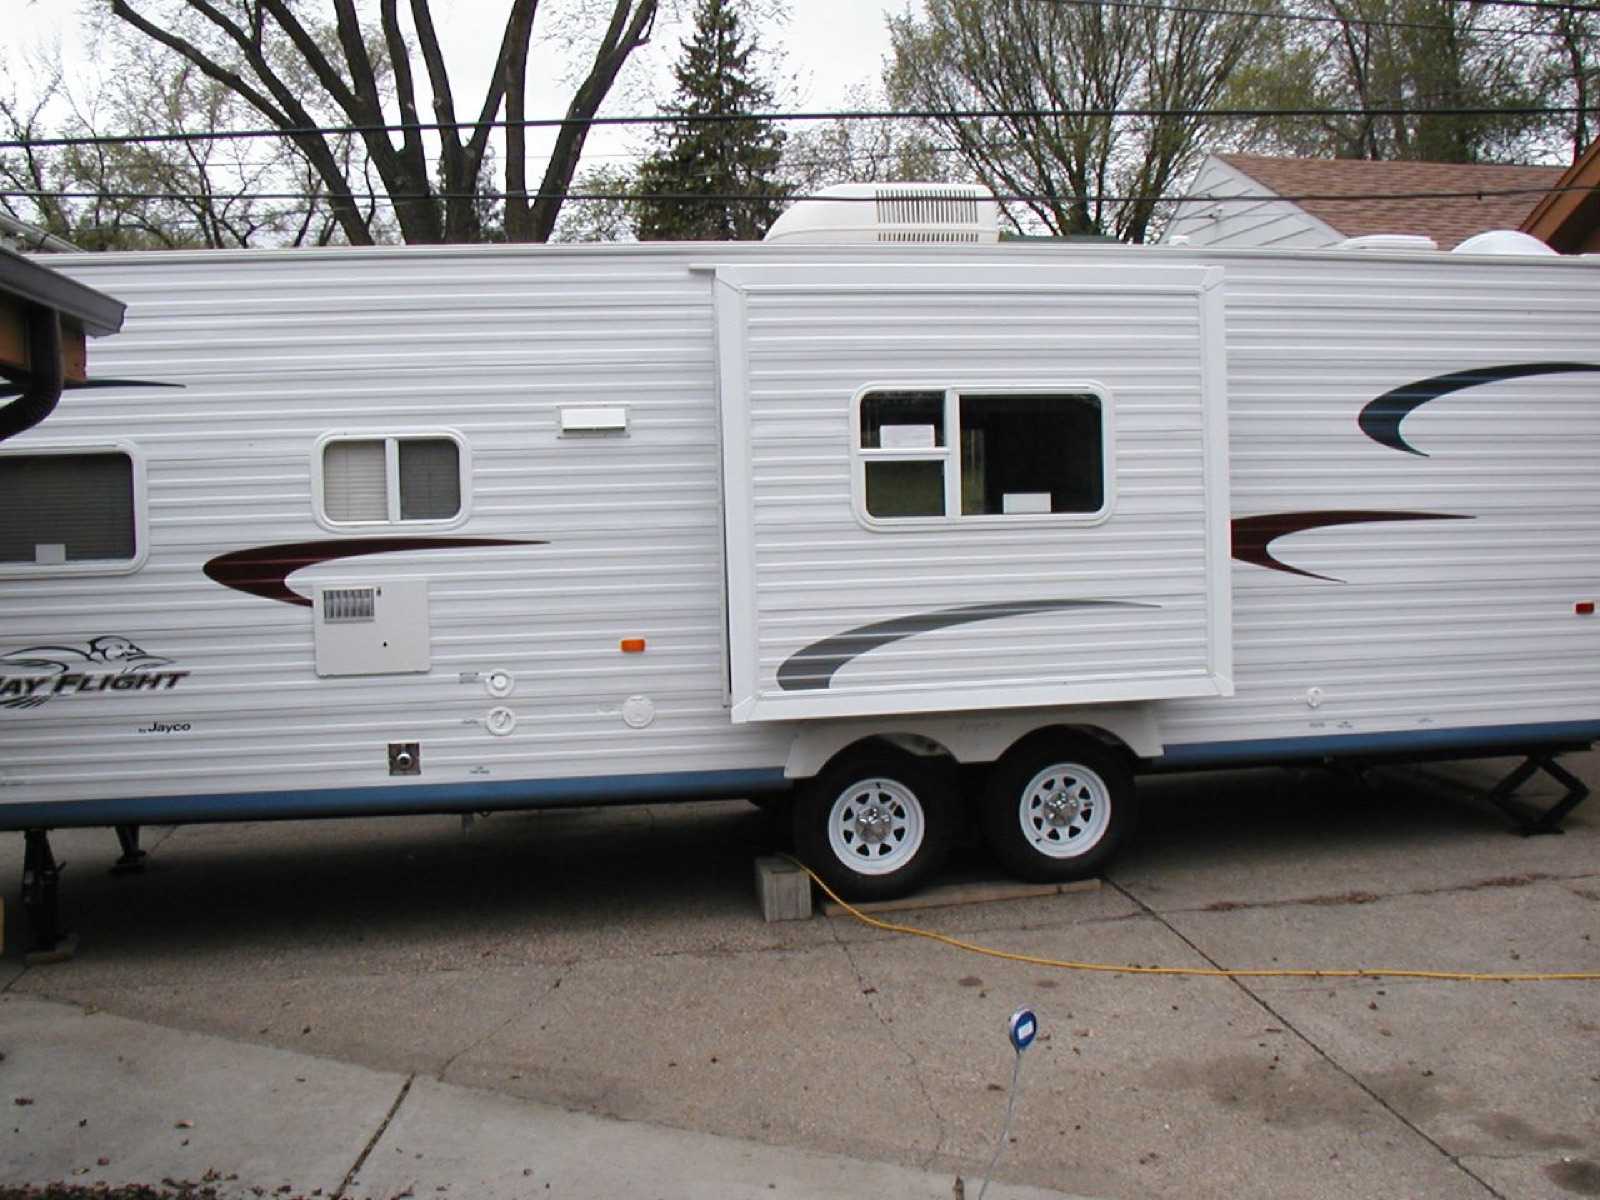
Extend the slide fully and look at the exposed bulb seal around the opening. A healthy bulb is round, flexible, and springs back immediately when you press it with a thumb. A failed one is flattened, cracked, hard, or has taken a permanent set where the flange sits.
Then check the wiper seals. They should lie flat against the slide walls with the fin pointing the same direction all the way around. Look for tears, sections folded backward, fins that have pulled out of their track, and gaps where adhesive let go. Run a hand along the top: debris caught in the wiper scratches the slide wall and tears the fin.
Check the slide roof too. Standing water, leaves, and pine needles on top of the slide get dragged into the top wiper seal when the slide comes in.
Step 3Condition the seals that are still good
Rubber seals that are still soft and intact last much longer with a conditioner applied every few months and before storage. Use a water-based product made for rubber seals: 303 Aerospace Protectant is the common one, and Lippert and Thetford sell slide-out seal conditioners. Avoid petroleum-based products, which swell and soften some seal compounds, and skip general-purpose sprays the seal maker doesn’t approve.
Spray or wipe it on, work it into the bulb and both faces of the wiper fins, and wipe off the excess. Conditioner won’t restore a seal that’s already cracked or flattened. If the bulb doesn’t spring back, it’s done.
Step 4Check slide alignment before you buy anything
New seals on a crooked slide get torn within a few cycles. Before you order, confirm the slide is square in the opening.
With the slide out, measure the gap between the slide wall and the opening at the top and bottom on both sides. With the slide in, look at the flange: it should contact the bulb seal evenly all the way around, and both sides of the slide should come in at the same time.
On a Lippert Schwintek in-wall system, the two motors are supposed to move in sync. If one side leads the other, the slide racks in the opening, one corner drags its wiper seal, and the other side leaves a gap. The controller can be resynchronized; the Schwintek slide guide has the procedure. On a hydraulic or through-frame electric slide, a slide that sags at the outer end (the floor drops when extended) or drags at the bottom points to worn rollers, a loose ram, or adjustment that’s drifted; the slide maker’s manual has the adjustment, and big room slides are a shop job for most people.
Step 5Measure and order the right seal
Cut a short section of the old seal from an inconspicuous spot or from the end, and measure the cross-section with calipers: base width, overall height, bulb diameter, and the length and angle of any wiper fin. Photograph it next to a ruler. Measure the total length needed around the opening and add 10 percent for corners and mistakes.
Note how it’s attached. Most bulb seals are adhesive-backed (foam tape or a separate adhesive), while some seals slide into an aluminum or plastic track or are held with screws through a base flange. You need the same attachment style, or you need to change the mounting.
Steele Rubber Products and AP Products both sell slide-out bulb and wiper seals with cross-section drawings to match against your measurements. Your trailer’s manufacturer or the slide maker may sell the exact OEM profile by your VIN or model year. When two profiles are close, match bulb height first; a bulb that’s too short won’t reach the flange, and one that’s too tall can keep the slide from closing fully.
Step 6Remove the old seal
Disconnect 12 V power to the slide before you work near the motor or the opening (see the stop box), and put the slide in the position that exposes the seal you’re replacing.
Peel the old seal from one end. Where the adhesive holds, warm it with a heat gun on low, keeping it moving and several inches from the surface, until the tape softens. Fiberglass and gel coat blister if you overheat them. Work the seal off with a plastic scraper or trim tool, not a metal putty knife.
Clean all the old adhesive off. Soften what’s left with gentle heat and scrape it, then wipe the surface with isopropyl alcohol until a clean rag comes away clean. New adhesive won’t hold on old adhesive or on a surface with conditioner, wax, or road film on it.
Step 7Install the new seal
Start at a top corner, so any joint ends up at the bottom where water drains away from it rather than into it. Peel the liner back a foot at a time and press the seal down along the line where the old one sat.
Don’t stretch the seal as you install it. Rubber laid under tension shrinks back over the next weeks and opens gaps at the corners. Lay it in relaxed, even slightly bunched.
At the corners, either bend the seal around if the profile and radius allow it without kinking, or cut it and make a mitered joint. For a miter, cut both ends at 45 degrees with a sharp utility knife and a miter guide, butt them tightly, and seal the joint with a dab of the adhesive or sealant the seal maker recommends. A cut corner left unsealed is a leak.
Roll or press the whole length firmly. Check the adhesive’s cure time on the package and wait it out before cycling the slide. Running the slide while the adhesive is still soft drags the seal out of place. Cycle the slide in and out slowly the first time and watch the corners.
Slide toppers: what they prevent and what they don’t
A slide topper is a small roll-up awning mounted on the sidewall above the slide. It extends automatically as the slide comes out and rolls up as the slide comes in. Carefree of Colorado, Dometic, and Lippert (Solera) all make them.
What a topper prevents: leaves, pine needles, sap, and bird droppings landing on the slide roof, and water standing there. Debris on the slide roof gets dragged into the top wiper seal every time the slide comes in, and water standing on a slide roof finds every weak spot in the roof membrane. A topper also shades the slide roof and the top seals from direct sun.
What a topper doesn’t do: it doesn’t seal anything. It won’t fix a failed bulb seal or wiper, and wind-driven rain still reaches the sides of the slide. Snow loads on a topper fabric are a problem, so you still clear it.
The common complaint is flapping in wind. The fabric balloons and slaps against the slide roof, which is noisy and wears the fabric. Two fixes: check the roller tension against the topper manual, since many topper rollers have an adjustable spring and lose tension with age; and add anti-flap clamps or deflectors that hold the fabric down at the roller end. Adjusting a wound spring roller can release a lot of energy suddenly, so follow the manual’s steps or have a shop do it.
The decision: if you camp under trees or stay in one place for weeks, a topper earns its price and its weight. If you mostly stay in open sites for a night or two and sweep the slide roof yourself before bringing the slide in, you can skip it.
Symptom → likely cause
| What you see | Most likely | Check |
|---|---|---|
| Daylight at an upper corner, slide in | Bulb seal gap or flattened bulb | Corner seal, flange contact |
| Gap along one whole side, slide in | Slide racked or out of sync | Alignment, Schwintek sync |
| Water in the slide track or on the floor after rain | Top wiper torn, debris on slide roof | Top wiper, slide roof |
| Rubber fin flapping while driving | Wiper seal pulled from track or adhesive | Re-seat or replace that run |
| Bulb stays dented after you press it | Seal lost its spring | Replace |
| New seal tore within weeks | Slide out of alignment | Alignment before re-sealing |
| Gaps at corners a month after install | Seal stretched during install | Re-lay relaxed at corners |
Stop and keep clear: never stand, reach, or work under or in the path of a slide that can move. Disconnect 12 V power to the slide (battery disconnect or the slide's fuse) before working near the motor, the drive, or the opening, and keep anyone else from touching the switch. Don't work under a slide supported only by its own mechanism. If the slide is racked, sagging, or binding, or the fix involves hydraulic lines or the slide's drive adjustment, have a certified RV technician do it.
Parts and tools mentioned
- Replacement bulb and wiper seals matched by cross-section (Steele Rubber Products, AP Products, or OEM)
- Seal adhesive or sealant recommended by the seal maker, for corner joints
- 303 Aerospace Protectant or a Lippert or Thetford slide-out seal conditioner
- Heat gun with a low setting, plastic scrapers and trim tools
- Isopropyl alcohol and lint-free rags
- Calipers, tape measure, utility knife, miter guide
- Slide topper awning (Carefree of Colorado, Dometic, Lippert Solera)
Questions people ask next
How long do slide seals last? It depends on sun, climate, and how often the slide moves. Conditioning a few times a year and keeping the slide roof clear extend their life. Replace them when they stop springing back or tear, not on a calendar.
Can I glue a torn wiper seal instead of replacing it? A short tear can be patched with a rubber-compatible adhesive as a stopgap. A torn wiper usually keeps tearing, so plan on replacing the run.
Should the slide be in or out while parked in storage? Most slide makers recommend storing with the slide in, which keeps the bulb seal compressed and the room protected. Check your slide manual.
Where is the water actually coming in if the seals look fine? Check the slide roof membrane, the corner caps, and the window and roof seams above the slide. The leak-finding guide has the sequence.
Manuals and references consulted
- Lippert Schwintek In-Wall Slide-Out System owner's manual
- Lippert hydraulic and electric through-frame slide-out owner's manuals
- Steele Rubber Products RV slide-out seal catalog and installation notes
- AP Products slide-out seal catalog
- Carefree of Colorado and Dometic slide topper awning owner's manuals